



Going live on social media is one of the best ways to connect with your audience in real time. But what if you could get all the benefits of live video without the stress of performing on the spot? That’s where learning to go live with a pre-recorded video becomes incredibly useful.
Pre-recorded live streaming lets you broadcast polished, edited content as if it were happening in real time. You get the engagement boost that live videos receive, while maintaining complete control over what your audience sees. Whether you’re a content creator, business owner, or educator, this approach can transform how you share video content online.
In this guide, you’ll learn exactly why creators choose this method, which platforms support it, and how to set everything up step by step. By the end, you’ll have all the knowledge you need to start streaming pre-recorded content like a pro.
Why Go Live With a Pre-Recorded Video
There are several compelling reasons why creators and businesses choose to go live with pre-recorded video instead of broadcasting in real time. Understanding these benefits can help you decide if this approach fits your content strategy.
Better quality control is perhaps the biggest advantage. When you record in advance, you can edit out mistakes, add graphics, improve audio quality, and ensure your lighting looks perfect. This means your audience sees your best work every time. You can create social media videos that drive engagement by taking the time to polish every detail before broadcasting.
Reduced stress and anxiety makes pre-recorded live streams appealing for many creators. Going live can feel nerve-wracking, especially when you’re worried about technical issues or forgetting what to say. With pre-recorded content, you eliminate that pressure entirely. You can record multiple takes until you’re happy with the result.
Time flexibility is another major benefit. You might want to go live at a time when your audience is most active, but that time might not work for your schedule. Pre-recorded live streaming lets you schedule broadcasts for optimal times without being physically present.
Consistent content quality becomes easier to maintain when you’re not relying on live performance. Every video can meet your standards because you have time to review and refine it before it goes out to your audience.
Repurposing opportunities also expand when you work with pre-recorded content. You can use the same video for multiple platforms, create clips for other social media channels, or save it for future use.
Platforms That Support Pre-Recorded Live Streams
Most major social media platforms allow you to stream pre-recorded content as live video, though the methods vary. Here’s what you need to know about each platform.
Facebook supports pre-recorded live streaming through third-party tools. The platform’s Live Producer feature allows you to connect external streaming software, making it straightforward to broadcast pre-recorded content to your page, group, or profile.
YouTube offers robust support for scheduled live streams and works well with most streaming tools. You can set up a scheduled broadcast and then stream your pre-recorded video at the designated time.
Instagram has more limitations but still supports pre-recorded live streaming through certain third-party services. Make sure to update Instagram to access latest features since the platform regularly updates its live streaming capabilities.
LinkedIn allows live streaming for pages and profiles that have been approved for LinkedIn Live. Third-party tools can connect to LinkedIn to stream pre-recorded content.
Twitch primarily focuses on real-time streaming, but you can still use pre-recorded content with proper setup through streaming software.
Each platform has its own terms of service regarding pre-recorded content, so it’s worth reviewing their guidelines to ensure you’re following the rules.
Tools for Streaming Pre-Recorded Videos as Live Content

Several categories of tools can help you go live with pre-recorded video. The right choice depends on your technical comfort level, budget, and specific needs. Let’s explore the main options available to you.
These tools generally fall into three categories: browser-based platforms that require no downloads, desktop software that offers more control, and scheduled streaming services that automate the entire process. Each has its own strengths and ideal use cases.
Browser-Based Streaming Platforms
Browser-based tools are perfect if you want to get started quickly without installing software on your computer. These platforms run entirely in your web browser, making them accessible from almost any device.
LiveReacting is a popular browser-based option that specializes in streaming pre-recorded videos. You simply upload your video file, connect your social media accounts, and start the broadcast. The platform handles all the technical details behind the scenes, making it beginner-friendly.
Another excellent choice is Restream, which supports pre-recorded video streaming and offers multistreaming capabilities. This means you can broadcast your pre-recorded content to multiple platforms simultaneously, saving time and expanding your reach.
Browser-based platforms typically offer these advantages:
- No software installation required
- Works on any computer with a modern browser
- Quick setup process
- Regular updates happen automatically
- Often includes built-in scheduling features
The main limitation is that you’re dependent on your internet connection and the platform’s servers. If either has issues, your stream could be affected.
Desktop Streaming Software
Desktop applications give you more control over your streaming setup and often provide additional customization options. These tools run on your computer and connect directly to social media platforms.
OBS Studio is a free, open-source option that many professional streamers use. It offers full customization for streaming pre-recorded videos, including the ability to add overlays, switch between scenes, and adjust audio levels in real time. While it has a steeper learning curve, the flexibility it provides is unmatched.
For those who want studio-like features with an easier interface, StreamYard is a user-friendly option that works in browsers but offers professional-grade capabilities. It lets you upload pre-recorded videos and stream them with custom branding and graphics.
Desktop software advantages include:
- Greater control over stream quality
- More customization options
- Ability to add real-time elements during playback
- Often works offline for setup and preparation
- Can handle larger video files more reliably
The trade-off is that these tools require more technical knowledge and your computer needs to be running during the entire broadcast.
Scheduled Streaming Services
If you want to set up your stream in advance and let it run automatically, scheduled streaming services are the way to go. These platforms let you upload your video, choose a time, and walk away.
OneStream Live specializes in scheduled pre-recorded live streams. You can upload your content, set the exact date and time for broadcast, and the service handles everything else. This is particularly useful for creators who need to balance content creation with business growth and can’t always be present during broadcasts.
Scheduled streaming services are ideal for:
- Creators in different time zones than their audience
- Businesses that want consistent broadcast schedules
- Anyone who wants to batch-create content in advance
- Teams that need to coordinate broadcasts without manual intervention
These services typically charge subscription fees, but the time savings can make them worthwhile for regular broadcasters.
Step-by-Step Guide to Going Live With a Pre-Recorded Video
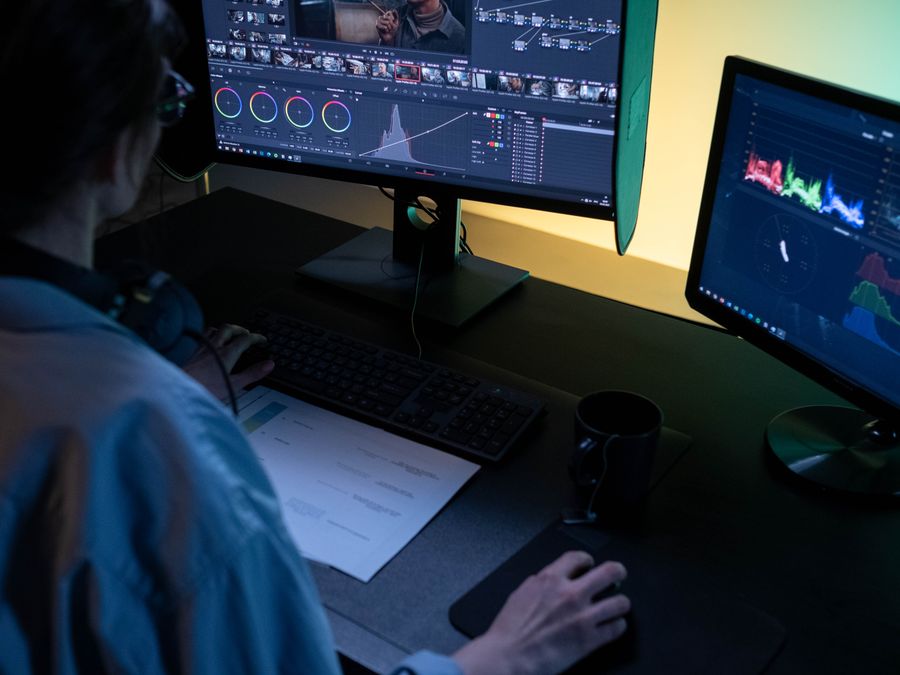
Now let’s walk through the general process for streaming pre-recorded content. While specific steps vary by tool, this workflow applies to most platforms.
Step 1: Prepare your video file
Start by creating and editing your video content. Export it in a format that your streaming tool supports—MP4 is the most widely accepted format. Pay attention to resolution and bitrate settings, as these affect both quality and upload time. Most platforms work well with 1080p video at standard bitrates.
Step 2: Choose your streaming tool
Select a tool based on your needs. If you’re just starting out, a browser-based platform might be easiest. If you need more control, consider desktop software. For hands-off scheduling, look at dedicated streaming services.
Step 3: Connect your social media accounts
Link your streaming tool to the platforms where you want to broadcast. This usually involves logging into your social media accounts and granting the tool permission to post on your behalf. Follow the authorization prompts carefully.
Step 4: Upload your video
Upload your pre-recorded video to the streaming platform. Depending on file size and your internet speed, this might take a few minutes to several hours. Some tools let you upload in advance and store videos for later use.
Step 5: Configure your stream settings
Set your stream title, description, and any other metadata. Add thumbnails if the platform supports them. Configure privacy settings and choose whether to enable comments during the broadcast.
Step 6: Schedule or start your broadcast
Either schedule your stream for a future time or start it immediately. If scheduling, double-check the time zone settings to ensure your video goes live when you expect.
Step 7: Promote your upcoming live stream
Let your audience know when you’ll be going live. Share the link across your social channels and encourage followers to set reminders. You can find your Instagram URL to share with followers before going live so they know exactly where to watch.
Step 8: Monitor and engage
Even though your video is pre-recorded, you can still engage with viewers during the broadcast. Watch the comments and respond in real time to create that live interaction your audience expects.
Tips for Making Pre-Recorded Live Streams Feel Authentic
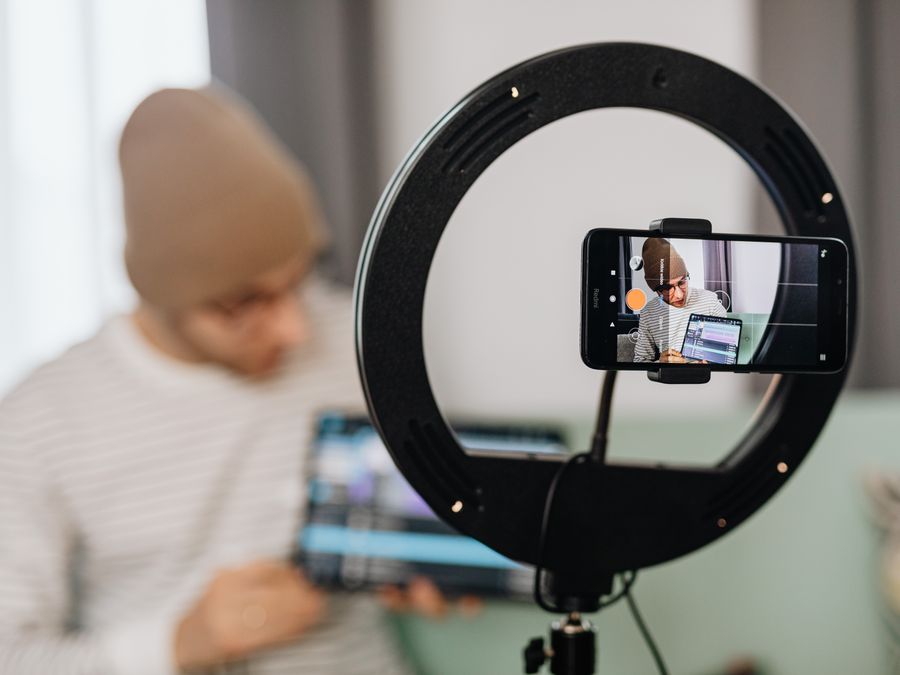
One challenge with pre-recorded live content is making it feel genuine. Here are practical tips to keep your streams feeling natural and engaging.
Record as if you’re live
When creating your video, pretend you’re actually broadcasting live. Speak directly to your audience, acknowledge that people are watching, and maintain the energy you’d have during a real live session. Avoid overly polished, scripted delivery that feels like a commercial.
Include calls to action for comments
Ask questions throughout your video that encourage viewers to comment. Phrases like “Let me know in the comments what you think” or “Drop a question below and I’ll answer it” prompt engagement even when you can’t respond in real time during the video itself.
Be present during the broadcast
Whenever possible, watch your own stream and respond to comments as they come in. This creates genuine interaction even though the video content is pre-recorded. Your audience will appreciate the personal attention.
Keep production quality natural
While you want good quality, avoid making your video look too produced. Slight imperfections can actually make content feel more authentic. Don’t over-edit to the point where it no longer feels like a live broadcast.
Optimize your profile before promoting
Before you start promoting your live streams, take time to improve your profile design so new viewers who discover you through the broadcast have a great first impression of your brand.
Match the live video aesthetic
Consider the visual style that viewers expect from live content. This might mean using a single camera angle, minimal graphics, and a conversational tone rather than the highly edited style of traditional video content.
Protecting Your Account When Going Live
When you connect third-party streaming tools to your social media accounts, security becomes important. Here’s how to protect yourself.
Use reputable tools only
Stick to well-known streaming platforms with established track records. Research any tool before granting it access to your accounts. Look for reviews from other creators and check how long the company has been operating.
Enable two-factor authentication
Before connecting any third-party tools, make sure two-factor authentication is enabled on all your social media accounts. This adds an extra layer of security even if your login credentials are somehow compromised.
Review app permissions regularly
Periodically check which apps have access to your social media accounts. Remove permissions for any tools you no longer use. Most platforms have a settings section where you can manage connected applications.
Understand what access you’re granting
When authorizing a streaming tool, read the permissions it’s requesting. Be cautious of tools that ask for more access than they need to function. A streaming tool shouldn’t need access to your direct messages, for example.
Taking account verification and protection seriously helps ensure your streaming activities don’t put your accounts at risk. The last thing you want is to lose access to accounts you’ve worked hard to build.
Building a Content Strategy Around Pre-Recorded Live Videos

Pre-recorded live streaming works best as part of a broader content strategy. Here’s how to incorporate it effectively.
Establish a consistent schedule
Regular live streams help build audience expectations. When viewers know you go live every Tuesday at noon, they’re more likely to show up. Pre-recorded content makes maintaining this consistency much easier since you can prepare content in advance.
Batch create content
Set aside dedicated time to record multiple videos at once. This efficiency lets you build a library of content ready to stream. You might record a month’s worth of live streams in a single productive day.
Mix pre-recorded and truly live content
Consider alternating between pre-recorded streams and genuine live sessions. This gives you the best of both worlds—polished content when you need it and authentic real-time interaction when you can manage it.
Repurpose your content
After your pre-recorded live stream ends, the content doesn’t have to disappear. Save it, edit it into shorter clips, or republish it as regular video content. This maximizes the value of every piece of content you create.
Plan for monetization
Consistent live content can support long-term creator income through various channels. As you build your audience, explore ways to grow wealth as a digital creator through sponsorships, memberships, or product sales tied to your live content.
Expand your online presence
As your live streaming grows, you might want a dedicated website to complement your social media presence. Explore hosting options for creators if you’re ready to build a more comprehensive online brand beyond social platforms.
Track what works
Pay attention to which pre-recorded live streams perform best. Look at viewer retention, comment engagement, and follower growth after each broadcast. Use these insights to refine your content strategy over time.
Learning to go live with pre-recorded video opens up new possibilities for your content creation. You get the engagement benefits of live streaming without the stress of real-time performance. Whether you choose browser-based tools, desktop software, or scheduled streaming services, the process is more accessible than ever.
Start by picking one tool and experimenting with a simple video. As you get comfortable with the workflow, you can explore more advanced features and build pre-recorded live streaming into your regular content routine. Your audience gets polished, valuable content, and you get the flexibility to create on your own terms.
