

Getting your photos to look just right on Instagram can feel tricky. You take a beautiful picture, but when you upload it, parts get cut off or the image looks stretched. The good news is that learning how to crop images for Instagram is simpler than you might think. Once you understand the basics, you can make every photo fit perfectly on your feed, Stories, and Reels.
This guide walks you through everything you need to know about cropping for Instagram. You will learn the exact dimensions for different types of posts, how to use Instagram’s built-in cropping tools, and which third-party apps can give you more control. Whether you are sharing personal moments or building a brand, proper cropping helps your content look polished and professional.
Why Cropping Matters for Instagram
Cropping is more than just trimming the edges of a photo. It directly affects how your content appears to your audience and can make the difference between a scroll-stopping image and one that gets passed by. When you crop images for Instagram correctly, you ensure that the most important parts of your photo stay visible and centered.
Think about what happens when you upload a photo without considering the dimensions. Instagram might automatically crop out a person’s head, cut off important text, or leave awkward empty space around your subject. These small issues can make your content look unprofessional, even if the original photo was stunning.
Understanding image dimensions matters because each type of Instagram content has specific requirements. Feed posts, Stories, Reels, and profile pictures all use different aspect ratios. When you know these dimensions ahead of time, you can plan your shots better and avoid losing important details during the upload process.
Proper cropping also supports your overall Instagram marketing tips strategy. A cohesive, well-cropped feed creates a stronger first impression when someone visits your profile. It shows that you pay attention to details and care about the quality of your content. This attention to visual consistency can help build trust with your audience and encourage them to follow you.
Beyond aesthetics, cropping affects engagement. Images that display correctly are more likely to catch attention as people scroll through their feeds. When your photos look clean and intentional, viewers are more inclined to stop, like, comment, and share.
Instagram Image Dimensions You Need to Know
Before you start cropping, it helps to know the exact dimensions Instagram uses for different types of content. Having these numbers handy saves time and prevents frustration when you are preparing your photos.
Instagram supports several aspect ratios, and each one serves a different purpose. The platform will accept images outside these ratios, but it may add borders or crop your photo automatically. To maintain full control over how your images appear, aim to match these dimensions before uploading.
Feed Post Dimensions
Feed posts are the most common type of content on Instagram, and they support three main aspect ratios. Square posts use a 1:1 ratio, which means the width and height are equal. The recommended size for square images is 1080 by 1080 pixels. This format works well for most subjects and creates a clean, balanced look on your profile grid.
Portrait posts use a 4:5 ratio, which is taller than it is wide. The ideal size is 1080 by 1350 pixels. Portrait orientation takes up more space in the feed, which can help your content stand out as people scroll. This format is popular for full-body shots, product photos, and images with vertical subjects.
Landscape posts use a 1.91:1 ratio, with a recommended size of 1080 by 566 pixels. This horizontal format works well for wide scenes, group photos, and images with multiple subjects spread across the frame. However, landscape posts take up less vertical space in the feed, so they may not grab attention as effectively as portrait images.
Stories and Reels Dimensions
Stories and Reels both use a vertical 9:16 aspect ratio, which fills the entire phone screen when viewed. The recommended size is 1080 by 1920 pixels. This full-screen format creates an immersive experience and allows you to use the entire display for your content.
When creating engaging visual stories, proper dimensions help your content look intentional rather than cropped or stretched. If you upload a horizontal image to Stories, Instagram will add black bars above and below, which can look unprofessional and waste valuable screen space.
For Reels, the same 9:16 ratio applies. Keep in mind that Reels thumbnails appear in a 9:16 format on your profile grid, but they display as 4:5 in the main feed. This means you should keep important elements centered and away from the edges to ensure nothing gets cut off in different viewing contexts.
How to Crop Images Using Instagram’s Built-In Tools
Instagram includes basic cropping features that let you adjust your photos before posting. While these tools are not as advanced as dedicated editing apps, they work well for quick adjustments and simple crops.
To crop a feed post, start by tapping the plus icon to create a new post and select your photo from your camera roll. On the editing screen, you will see a small icon in the bottom left corner that looks like two arrows pointing outward. Tapping this icon toggles between the original aspect ratio and a square crop.
If you want to adjust the crop manually, use two fingers to pinch and zoom on the image. This lets you reposition the photo within the frame and choose exactly which part of the image appears. You can also drag the image around to center your subject or highlight a specific area.
For Stories, the process is similar. After selecting your photo, you can pinch to zoom and drag to reposition. Stories automatically default to the 9:16 vertical format, so horizontal images will need adjustment. You can zoom in to fill the frame or leave the image smaller with a colored background behind it.
The built-in tools have some limitations. You cannot enter specific pixel dimensions, and the cropping options are fairly basic. For more precise control, especially when preparing content in advance, third-party apps offer better features.
Best Third-Party Apps for Cropping Instagram Images
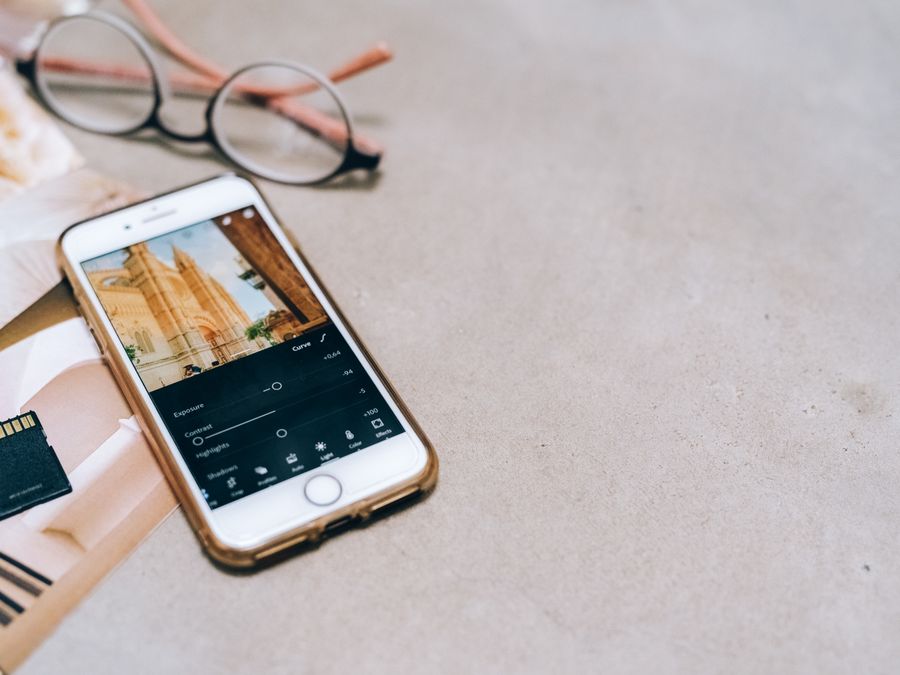
When you need more control over your cropping, several apps can help you prepare images before uploading to Instagram. These tools offer preset dimensions, precise adjustments, and additional editing features that make your workflow smoother.
Canva is a user-friendly option that works well for beginners and experienced creators alike. The platform includes templates sized specifically for Instagram posts, Stories, and Reels. You simply choose the format you need, upload your photo, and adjust it within the frame. Canva also lets you add text, graphics, and other design elements, making it useful for creating polished content.
For photographers and those who want professional-level editing, Adobe Lightroom offers precise cropping features along with powerful color correction tools. You can set custom aspect ratios, straighten horizons, and fine-tune every detail of your image. Lightroom works on both desktop and mobile, so you can edit anywhere.
SnapSeed is a free mobile app that provides solid cropping capabilities along with a range of editing tools. The interface is intuitive, and you can quickly adjust your images without a steep learning curve. It includes preset aspect ratios for common social media formats, which speeds up the cropping process.
If you enjoy combining filters with your edits, VSCO offers cropping tools alongside its popular preset filters. The app lets you adjust aspect ratios and fine-tune your crops while also applying consistent color grading to your images. This combination helps maintain a cohesive look across your feed.
Having a social media content checklist can help you stay organized when using multiple apps. Knowing which tool to use for each step of your workflow saves time and ensures consistent quality across all your posts.
Cropping Tips for Different Types of Instagram Content
Different types of content require different cropping approaches. What works for a landscape photo might not work for a product shot, and carousel posts have their own considerations. Here are practical tips for common content types.
For product photos, especially if you use Instagram shopping features, keep your product centered with some breathing room around the edges. This ensures the item remains the focus and does not get cut off when displayed in different contexts. Square crops often work well for product images because they create a clean, catalog-like appearance.
Portrait photos of people require careful attention to framing. Avoid cropping at joints like elbows, knees, or ankles, as this can look awkward. Instead, crop at natural points like the waist or mid-thigh. For headshots, leave some space above the head and keep the eyes in the upper third of the frame for a balanced composition.
Landscape and travel photos often benefit from the portrait 4:5 ratio rather than the traditional horizontal format. This might seem counterintuitive, but cropping a wide scene into a vertical frame can create a more dramatic effect and takes up more space in the feed. Focus on the most compelling part of the scene and let the vertical crop guide the viewer’s eye.
Carousel posts present a unique challenge because each image should work both individually and as part of a series. Keep important elements away from the edges, especially if you are creating a panoramic effect across multiple slides. Consistency in cropping across all slides helps the carousel feel cohesive.
When working with pre-recorded video content, remember that video thumbnails follow the same cropping rules as photos. Choose a frame that looks good when cropped to the display ratio, and ensure any text or important visual elements remain visible in the thumbnail preview.
Common Cropping Mistakes to Avoid
Even experienced creators make cropping mistakes that can hurt the impact of their content. Being aware of these common errors helps you avoid them in your own work.
One frequent mistake is cutting off important elements. This happens when you focus so much on fitting the frame that you accidentally remove part of a person’s head, a product’s edge, or text that provides context. Always double-check your crop before finalizing to ensure nothing essential is missing.
Ignoring safe zones is another common issue. Instagram displays content differently depending on where it appears. A Reel might look perfect in full-screen view but have important elements hidden behind the interface when viewed in the feed. Keep critical content away from the edges and corners where buttons, captions, and other interface elements might overlap.
Over-cropping reduces image quality. Every time you crop, you are essentially zooming in and using fewer pixels to display your image. If you crop too aggressively, the result can look blurry or pixelated, especially on larger screens. Start with high-resolution images and avoid cropping more than necessary.
Inconsistent cropping across your feed can make your profile look disorganized. While you do not need to use the same aspect ratio for every post, having some consistency in how you frame similar content creates a more polished appearance. This attention to detail supports your overall Instagram SEO optimization efforts by presenting a professional image to both visitors and the algorithm.
Finally, forgetting to preview your crop in context is a mistake many people make. What looks good in your editing app might appear differently once posted. Use Instagram’s preview feature to see how your cropped image will look in your feed before committing to the post.
How Proper Cropping Supports Your Instagram Goals
Good cropping habits do more than make individual posts look better. They support your broader goals on the platform, whether you are growing a personal brand, running a business, or building a creative career.
For those starting an Instagram business, professional image presentation builds credibility with potential customers. When your product photos are consistently well-cropped and your feed looks cohesive, visitors are more likely to trust your brand and make a purchase. First impressions happen quickly, and image quality plays a significant role in how people perceive your business.
Creators focused on building a career on Instagram benefit from polished visuals in multiple ways. Brands looking for collaboration partners often evaluate potential creators based on their feed aesthetics. A well-maintained profile with properly cropped images signals professionalism and attention to detail, making you a more attractive partner for sponsored content opportunities.
Proper cropping also saves time in the long run. When you establish a consistent workflow for preparing your images, you spend less time troubleshooting issues after posting. You know exactly how your content will appear, which reduces the need for deleting and reposting when something does not look right.
Beyond individual posts, thoughtful cropping contributes to your overall content strategy. When you plan your crops in advance, you can create visual patterns on your profile grid, tell stories across multiple posts, and maintain a recognizable style that sets you apart from other accounts in your niche.
The skills you develop while learning to crop images for Instagram transfer to other platforms as well. Understanding aspect ratios, composition, and visual presentation helps you create better content across all social media channels, making your overall digital presence stronger.
Taking the time to crop your images properly is a small investment that pays off in better engagement, a more professional appearance, and a smoother content creation process. Whether you use Instagram’s built-in tools or dedicated editing apps, the key is consistency and attention to detail. With practice, cropping becomes second nature, and your content will consistently look its best.
