



Freelancing gives you freedom, but it also means you’re responsible for everything. When you manage social media for yourself or your clients, things can get messy fast. Files end up scattered across different folders. You forget where you saved that perfect image. Posts go out late—or not at all—because you lost track of your schedule.
A solid social media checklist for freelancers can change all of that. Instead of scrambling to find content or rushing to post at the last minute, you’ll have systems that keep everything organized and running smoothly. This guide walks you through setting up your storage and scheduling workflows step by step, so you can spend less time searching for files and more time doing work that matters.
Why Freelancers Need a Social Media Organization System
When you’re juggling multiple clients or managing your own brand alongside client work, chaos creeps in quickly. You might have images saved on your phone, captions drafted in random notes apps, and login details scattered across sticky notes. This disorganization doesn’t just waste time—it costs you money and credibility.
Missed posts mean missed opportunities. When you forget to publish content on time, you break the consistency that social media algorithms reward. Your audience notices gaps, and potential clients might question your reliability. For freelancers, your reputation is everything.
A checklist approach solves these problems by giving you a repeatable system. Instead of reinventing your workflow every week, you follow the same steps each time. You know exactly where to find files, when posts are scheduled, and what needs to happen next. This predictability reduces stress and frees up mental energy for creative work.
Having organized systems also helps when you’re developing a social media strategy for brands you work with. Clients trust freelancers who can show them a clear process. When you can quickly pull up assets, share calendars, and demonstrate your workflow, you look professional and capable.
The good news is that building these systems doesn’t require expensive tools or complicated setups. With a few smart choices about storage and scheduling, you can create a workflow that grows with your business.
Setting Up Your Content Storage System
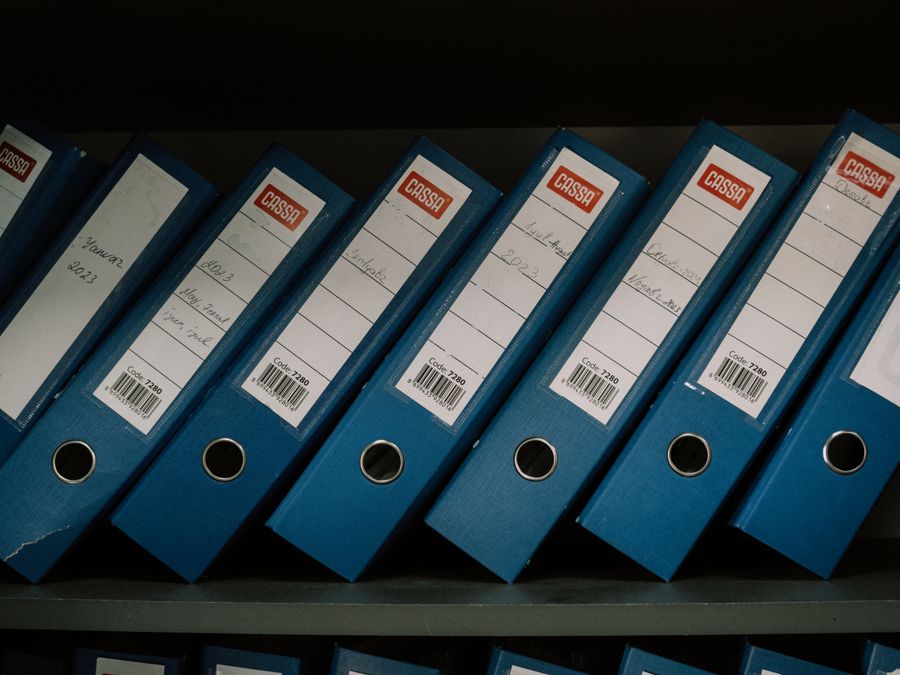
Your storage system is the foundation of everything else. If you can’t find your files, nothing else matters. The goal is to create a single, organized home for all your social media content—images, videos, captions, brand guidelines, and anything else you need.
Cloud storage is the best choice for most freelancers. It lets you access files from any device, share folders with clients, and avoid losing everything if your computer crashes. Google Drive is a popular option because it’s affordable, easy to use, and integrates well with other tools you probably already use.
Once you’ve chosen a platform, the real work begins: creating a folder structure that makes sense. Start with top-level folders for each client or project. Inside each client folder, create subfolders for different content types like images, videos, graphics, and copy. You might also want folders for approved content, drafts, and archived materials.
Naming Conventions That Save Time
Consistent file naming is just as important as folder structure. When you name files clearly, you can find them instantly without opening dozens of folders. A good naming convention includes the date, client name, platform, and a brief description.
For example, instead of naming a file “final_version_2.jpg,” try “2024-01-15_ClientName_Instagram_ProductLaunch.jpg.” This tells you exactly what the file is without opening it. When you’re searching for content later, these descriptive names make everything easier to find.
If you’re new to organizing digital files, Google’s guide on organizing files offers helpful tips for setting up folder structures that work long-term. Taking time to plan your system now saves countless hours of searching later.
Setting Up Client Access
Many freelancers need to share files with clients for approval or collaboration. Set up shared folders specifically for this purpose, keeping your working files separate from what clients can see. This prevents confusion and protects your drafts from accidental changes.
Create a clear approval workflow where clients review content in a designated folder. Once they approve something, move it to your “ready to post” folder. This simple system keeps everyone on the same page and creates a clear record of what’s been approved.
Managing Storage Space on Your Devices
Cloud storage is fantastic, but it comes with a hidden challenge: sync settings can fill up your local hard drive without you realizing it. Many cloud services automatically download files to your computer, which is helpful until you run out of space.
This is especially common with services like Dropbox, where default settings sync everything locally. If you’re working with large video files or managing content for multiple clients, your computer’s storage can disappear quickly. You might notice your device slowing down or getting warnings about low disk space.
The solution is to use selective sync or smart sync features. These let you choose which folders download to your device and which stay in the cloud only. Keep frequently used files local for fast access, but leave archived content and large files in the cloud.
If you’re experiencing issues with Dropbox taking up space on Mac, you can adjust your sync settings to free up local storage while keeping everything accessible online. Similar options exist for other cloud services.
Make it a habit to review your local storage monthly. Delete files you no longer need locally, clear your downloads folder, and check that your sync settings still make sense for your current projects. A few minutes of maintenance prevents bigger problems down the road.
Organizing Visual Assets for Easy Access
Visual content is the heart of social media, but it’s also the hardest to organize. Images and videos take up space, look similar at a glance, and multiply quickly. Without a system, you’ll waste hours scrolling through folders trying to find that one perfect photo.
Start by categorizing visuals by type: photos, graphics, videos, and user-generated content. Within each category, create subcategories that match how you actually search for content. This might be by theme, color, season, product, or campaign.
For example, a lifestyle brand might organize photos into folders like “Product Shots,” “Behind the Scenes,” “Customer Photos,” and “Seasonal Content.” A personal brand might use categories like “Headshots,” “Speaking Events,” “Testimonials,” and “Lifestyle.”
Using Tags and Descriptions
Folder organization only goes so far. For large libraries, consider using tools that let you add tags or descriptions to files. This way, you can search for “blue background” or “summer campaign” and find relevant images instantly, regardless of which folder they’re in.
Some cloud storage services offer basic tagging features, while dedicated digital asset management tools provide more advanced options. Choose what fits your budget and the size of your content library.
Well-organized visuals support better visual storytelling on social media because you can quickly find images that fit your narrative. When you’re not limited by what you can find, you can focus on creating content that truly connects with your audience.
Creating a Content Library
Think of your organized visuals as a content library you can draw from anytime. Build this library intentionally by saving evergreen content that can be reused, organizing seasonal content for easy access when relevant, and archiving campaign-specific content after it’s been used.
A well-maintained library means you’re never starting from scratch. Even on busy days, you can pull together quality posts quickly because you know exactly where to find what you need.
Creating a Content Calendar That Works
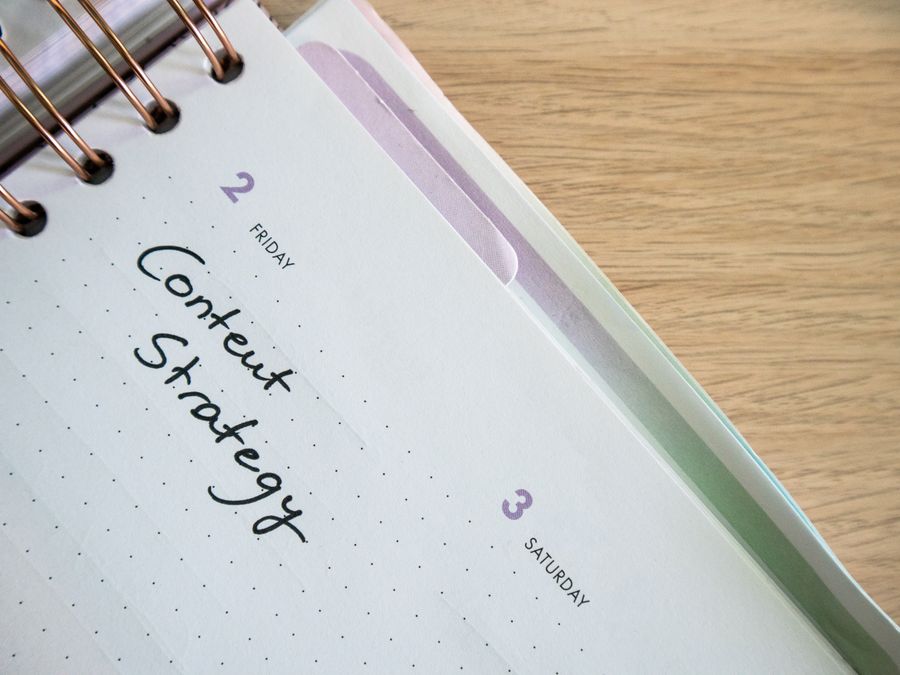
A content calendar transforms social media from a daily scramble into a planned, manageable process. Instead of wondering what to post each day, you’ll have a clear roadmap that keeps you consistent and strategic.
Your calendar doesn’t need to be complicated. A simple spreadsheet works perfectly for many freelancers. Create columns for the date, platform, content type, caption, hashtags, and status. Add rows for each planned post, and you have a visual overview of your entire content schedule.
For more complex workflows, project management tools offer additional features. Trello lets you create boards with cards for each piece of content, moving them through stages like “Idea,” “In Progress,” “Ready for Review,” and “Scheduled.” This visual approach works well if you manage content for multiple clients or collaborate with team members.
Planning Ahead Without Overwhelm
The key to a sustainable calendar is planning far enough ahead to reduce stress without creating so much content that it becomes outdated. For most freelancers, planning two to four weeks ahead hits the sweet spot.
Set aside dedicated time each week or month for content planning. During this session, review upcoming dates, holidays, and events relevant to your audience. Brainstorm content ideas, assign them to specific dates, and note which assets you’ll need. Following proven social media marketing tips during your planning sessions helps ensure your calendar supports your broader marketing goals.
Leave some flexibility in your calendar for timely content. You don’t want to be so locked into your schedule that you can’t respond to trending topics or unexpected opportunities. A good rule is to plan about 80% of your content in advance and leave 20% for spontaneous posts.
Tracking What Works
Your content calendar should also help you learn what resonates with your audience. Add columns to track engagement metrics after posts go live. Over time, you’ll spot patterns—certain content types, posting times, or topics that consistently perform well.
Use these insights to refine your future calendars. Double down on what works and experiment less with what doesn’t. This continuous improvement makes your social media efforts more effective over time.
Choosing and Using Scheduling Tools

Scheduling tools let you prepare posts in advance and have them publish automatically at the right time. This is a game-changer for freelancers because it lets you batch your work instead of being tied to your phone all day.
Many scheduling tools are available, each with different features and price points. Later is particularly popular for visual content planning because it lets you preview how your Instagram grid will look before you post. This visual planning feature helps maintain a cohesive aesthetic.
When choosing a scheduling tool, consider which platforms you need to support, how many accounts you’ll manage, and what features matter most to you. Some tools offer analytics, hashtag suggestions, or team collaboration features that might be worth the extra cost.
Batching Your Work
The real power of scheduling tools comes from batching. Instead of creating and posting content throughout the day, you dedicate specific blocks of time to content creation and scheduling. This approach is more efficient because you stay in one mode instead of constantly switching tasks.
A typical batching workflow might look like this: spend one morning creating all your graphics for the week, then spend an afternoon writing captions and scheduling everything. You’ve done a week’s worth of posting in a few focused hours.
Mastering scheduling tools is one of the essential social media manager skills that separates professionals from amateurs. When you can efficiently batch and schedule content, you free up time for strategy, engagement, and growing your business.
Staying Engaged After Scheduling
Scheduling doesn’t mean setting and forgetting. Social media is social—you still need to respond to comments, engage with your audience, and participate in conversations. Schedule your posts, but set aside time each day for genuine interaction.
Many scheduling tools include inbox features that let you manage comments and messages from one dashboard. This makes engagement more efficient without requiring you to log into each platform separately.
Streamlining Content Creation with AI Tools

Creating enough content to maintain a consistent posting schedule can feel overwhelming, especially when you’re managing multiple accounts. AI tools have become valuable helpers for freelancers looking to speed up their content creation process.
These tools can help with various tasks: generating caption ideas, suggesting hashtags, creating image variations, or even producing short video clips. They don’t replace your creativity, but they can handle repetitive tasks and give you starting points to work from.
Understanding how to use AI-generated content for social media effectively means knowing when AI helps and when human touch is essential. AI excels at generating options quickly, but you should always review and customize the output to match your voice and your client’s brand.
Integrating AI Into Your Workflow
The best way to use AI tools is as part of your existing workflow, not as a replacement for it. During your content planning sessions, use AI to brainstorm ideas or draft initial captions. Then refine these drafts with your own insights and personality.
For video content, AI tools can be particularly helpful. If you’re interested in creating AI videos for social media, you’ll find tools that can generate clips from text, add captions automatically, or create simple animations. These features let you produce video content even without advanced editing skills.
Store AI-generated content in your organized file system just like any other asset. Create a folder for AI drafts that need review, and move approved content to your ready-to-use folders. This keeps AI tools integrated into your workflow without creating chaos.
Building Your Online Presence as a Freelancer
All this organization isn’t just about efficiency—it’s about building something sustainable. When your systems run smoothly, you can post consistently, maintain quality, and show up for your audience day after day. That consistency builds trust and credibility.
For freelancers, your social media presence often serves double duty. It showcases your skills to potential clients while also demonstrating what you can do for them. A well-organized, consistently updated profile is a portfolio in action.
The principles of building a social media presence apply whether you’re growing your personal brand or managing accounts for clients. Consistency, quality, and authentic engagement matter more than posting constantly or chasing every trend.
Your organized workflow supports this presence by making consistency achievable. When you’re not scrambling to find content or remember passwords, you have energy left for the creative and strategic work that actually grows your following.
Managing Your Freelance Business Finances
Time saved through better organization translates directly into money. When you spend less time searching for files and more time doing billable work, your income potential increases. But there’s another benefit: mental space for business planning.
Freelancers often get so caught up in daily tasks that they neglect the bigger picture. When your social media workflow runs smoothly, you can step back and think about pricing, savings, taxes, and long-term goals. This strategic thinking is essential for building a sustainable freelance career.
Consider dedicating some of your reclaimed time to financial planning for social media creators. Understanding your numbers helps you make better decisions about which clients to take, when to raise rates, and how to invest in your business growth.
Your social media checklist for freelancers isn’t just about posting content—it’s about creating systems that support your entire business. When the operational side runs smoothly, you can focus on the work that truly moves your career forward.
Start implementing these systems one step at a time. Set up your storage structure this week. Create your content calendar next week. Add scheduling tools the week after. Before long, you’ll have a workflow that makes social media management feel manageable instead of overwhelming. That’s when freelancing starts to feel like the freedom it’s supposed to be.
