


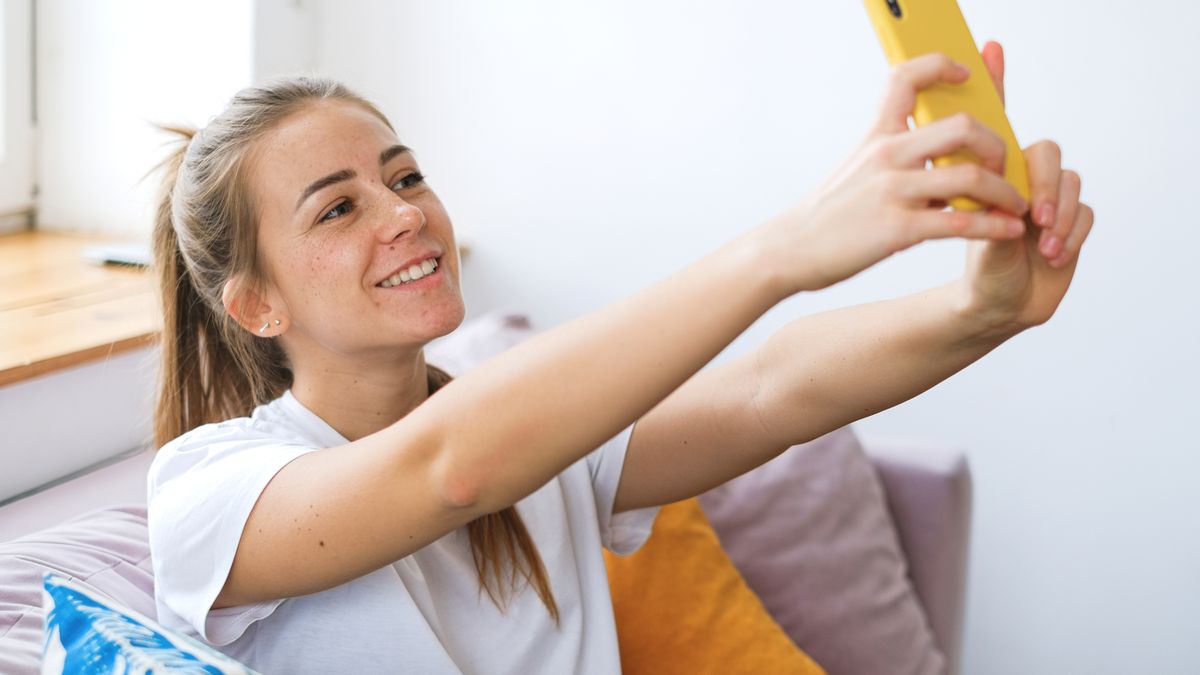
Instagram face filters have become one of the most popular ways to add personality and creativity to your photos and videos. Whether you want to smooth your skin, add sparkles around your face, or transform into a cartoon character, these playful effects make content creation more enjoyable for everyone.
If you’ve ever scrolled through Instagram Stories and wondered how people get those fun effects on their faces, you’re in the right place. Instagram face filters are easy to use once you know where to find them, and they can completely change the look and feel of your content. From subtle beauty enhancements to wild and wacky transformations, there’s a filter for every mood and occasion.
In this guide, we’ll walk you through everything you need to know about Instagram face filters. You’ll learn what they are, how to find and use them, and even how to create your own. We’ll also share tips for getting the best results and recommend some helpful apps for editing your filtered photos and videos.
What Are Instagram Face Filters?
Instagram face filters are digital effects that overlay graphics, colors, and animations onto your face in real time. When you open your camera in Instagram Stories or Reels, these filters detect your facial features and apply effects that move with you as you turn your head, open your mouth, or blink your eyes.
These filters work using AR tech to overlay effects on your face in real time. Augmented reality technology uses your phone’s camera to recognize facial landmarks like your eyes, nose, and mouth. Once it identifies these points, it can place virtual objects or effects precisely where they need to be. This is why a pair of digital sunglasses stays on your face even when you move around.
Face filters have become incredibly popular on Instagram for several reasons. First, they’re just plain fun. There’s something entertaining about seeing yourself with puppy ears or a flower crown. Second, they help people feel more confident on camera. Beauty filters can smooth skin, brighten eyes, and add a subtle glow that makes anyone look their best. Third, they encourage creativity and self-expression. With thousands of filters available, you can find effects that match your personality, mood, or the theme of your content.
Instagram face filters also help content stand out in a crowded feed. When everyone is posting similar photos and videos, a unique or eye-catching filter can grab attention and encourage people to watch or engage with your content. This makes filters valuable not just for personal accounts but also for creators and businesses looking to connect with their audience in memorable ways.
How to Find and Use Face Filters on Instagram
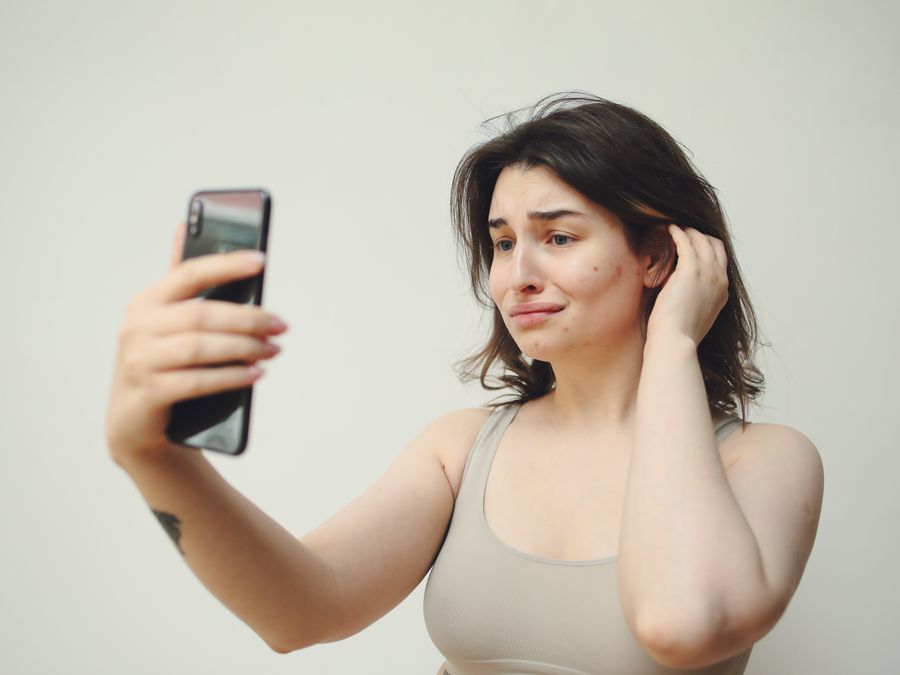
Finding and using Instagram face filters is straightforward once you know where to look. Here’s a step-by-step guide to get you started with filters in Stories and Reels.
To access filters in Instagram Stories, open the Instagram app and swipe right from your feed or tap the plus icon and select Story. This opens your camera. At the bottom of the screen, you’ll see a row of circular icons. These are your available filters. Swipe left or right through them to preview different effects on your face in real time.
When you find a filter you like, simply tap the capture button to take a photo or hold it down to record a video. The filter will be applied to your content automatically. You can then add stickers, text, music, or other elements before sharing your Story.
To discover more filters beyond the default options, scroll all the way to the right in the filter row until you see a magnifying glass icon labeled “Browse Effects.” Tap this to open the Effect Gallery, where you can explore filters organized by categories like Selfies, Love, Funny, and more. You can also search for specific filters by name or browse effects created by other users.
When you find a filter you want to save for later, tap on it and then tap the bookmark icon to add it to your saved effects. This makes it easy to access your favorite filters quickly without searching for them each time.
For Reels, the process is similar. Open the Reels camera by tapping the plus icon and selecting Reel. On the left side of the screen, you’ll see an effects icon that looks like sparkles or stars. Tap this to browse and select filters for your Reel. You can preview how each filter looks before you start recording.
Once you master filters, you can also add links to Instagram Stories to drive engagement and direct your audience to websites, products, or other content you want to share.
Popular Types of Instagram Face Filters
Instagram offers a wide variety of face filters to suit different tastes and purposes. Understanding the main categories can help you find the perfect filter for any situation.
Beauty Filters
Beauty filters are among the most widely used effects on Instagram. These filters typically smooth skin, reduce blemishes, brighten eyes, and add a subtle glow to your complexion. Some beauty filters also reshape facial features slightly, making eyes appear larger or jawlines more defined. Many people use these filters to feel more confident when posting selfies or appearing on camera. Certain beauty filters help achieve the Instagram baddie aesthetic that’s popular among influencers and fashion-focused accounts.
Funny and Playful Filters
If you want to make people laugh, funny filters are the way to go. These effects can give you animal ears and noses, distort your face in silly ways, or add animated characters that react to your movements. Popular examples include filters that make you look like a baby, turn you into a cartoon, or add exaggerated features like giant eyes or tiny mouths. These filters are perfect for entertaining your followers and showing off your playful side.
Color and Aesthetic Filters
Color filters change the overall look and mood of your photos and videos by adjusting tones, saturation, and contrast. Some filters add warm, golden tones for a cozy feel, while others create cool, moody vibes with blue or purple hues. You can also find black and white aesthetic filters for a classic, timeless look that never goes out of style. These filters work well for creating a cohesive visual theme across your content.
Themed and Seasonal Filters
Throughout the year, you’ll find filters designed for specific holidays, events, and trends. Halloween brings spooky filters with skulls, bats, and ghostly effects. Valentine’s Day features hearts, cupids, and romantic overlays. There are also filters tied to pop culture moments, viral trends, and special occasions. Using themed filters can make your content feel timely and relevant.
Interactive Filters
Some filters include interactive elements like quizzes, games, or randomizers. These might show a spinning wheel that lands on a random answer, reveal “which character are you” results, or display questions for your followers to answer. Interactive filters are great for boosting engagement because they encourage viewers to participate and share their own results.
How to Create Your Own Instagram Filters
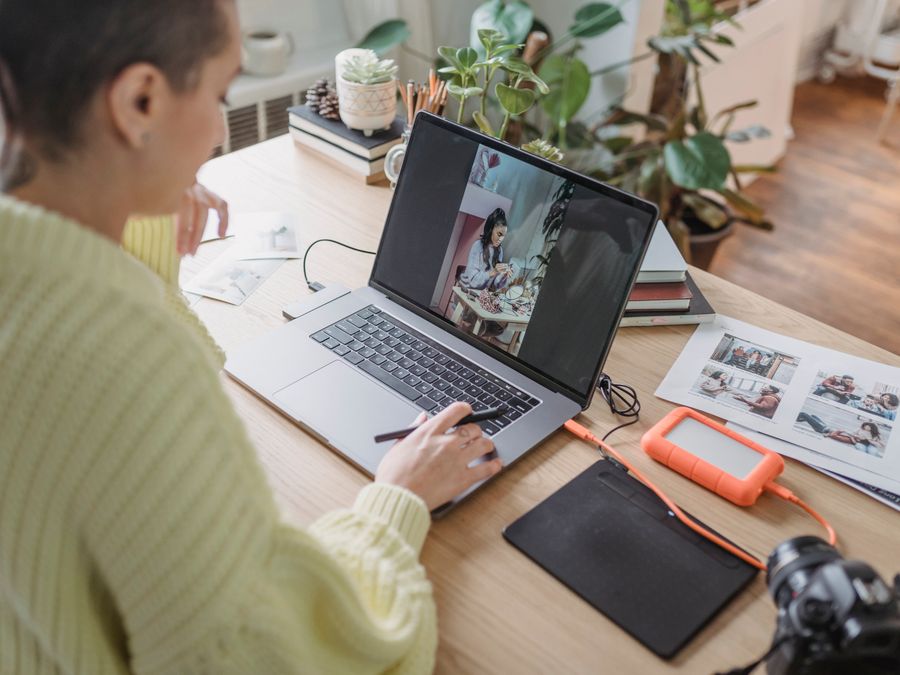
If you can’t find a filter that matches your vision, you can create your own custom effects. This might sound complicated, but the tools available today make it accessible even for beginners.
The official platform for creating custom Instagram filters is Spark AR, which is free to download and use. Spark AR Studio is a desktop application that lets you design augmented reality effects using a visual interface. You don’t need to be a programmer to get started, though having some design skills helps.
To begin creating your own filter, download Spark AR Studio from the official website and install it on your computer. When you open the program, you’ll find templates and tutorials that guide you through the basics. The interface uses a node-based system where you connect different elements to create effects.
Start with something simple, like adding a 2D image or graphic that appears on the screen. You can import your own images, such as a logo, frame, or decorative element. Position it where you want it to appear relative to the user’s face or the camera view.
For face filters specifically, Spark AR includes face tracking technology that detects facial features automatically. You can attach objects to specific parts of the face, like placing virtual glasses on the eyes or a hat on the head. The software provides face mesh templates that let you apply textures or colors directly to the skin.
Once you’ve created your filter, you can test it on your phone using the Spark AR Player app. This lets you see exactly how your effect will look and behave in real conditions. Make adjustments as needed until you’re happy with the result.
When your filter is ready, submit it for review through Spark AR Hub. Instagram reviews all custom effects to ensure they meet community guidelines. Once approved, your filter becomes available for others to use, and you can share it on your profile or in your Stories.
Creating custom filters can be a great way to build your personal brand or promote a business. Many creators and companies have gained attention by designing unique, shareable effects that spread across the platform.
Best Third-Party Apps for Editing Filtered Photos
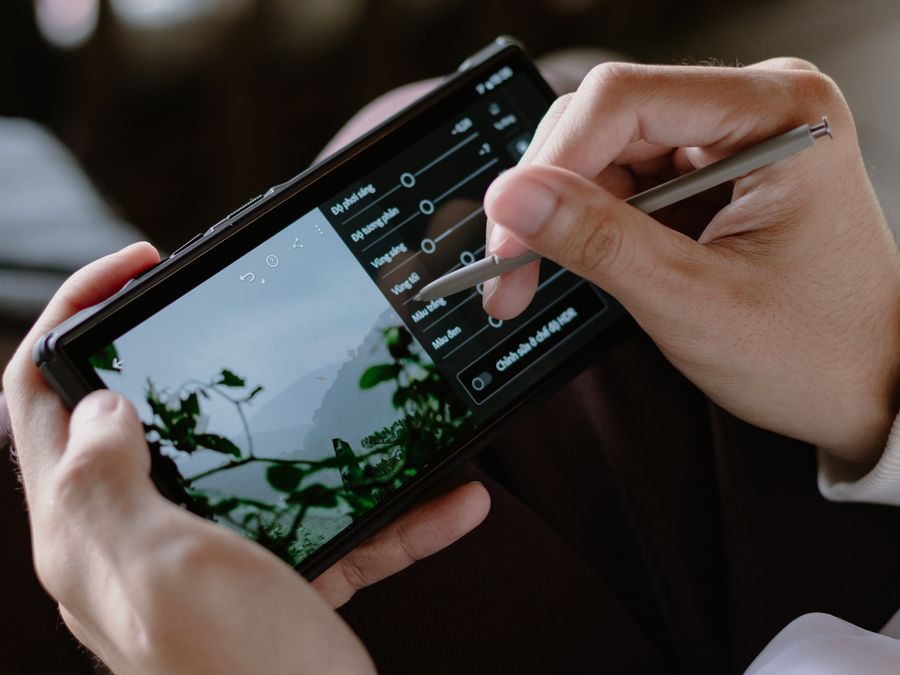
While Instagram’s built-in filters are great, you might want to enhance your photos further after applying them. Several third-party apps offer powerful editing tools that can take your filtered images to the next level.
Canva for Text and Graphics
If you want to add text, stickers, or graphic elements to your filtered photos, Canva is a user-friendly tool that makes it easy. Canva offers thousands of templates, fonts, and design elements that you can drag and drop onto your images. It’s perfect for creating polished posts, announcements, or promotional content. You can also use Canva to create consistent branding across your Instagram feed.
VSCO for Color Grading
For additional color grading and preset options, VSCO is a popular choice among Instagram users. VSCO offers a wide range of filters and presets that give your photos a professional, film-like quality. You can adjust exposure, contrast, saturation, and other settings to fine-tune the look of your images. Many creators use VSCO to maintain a consistent aesthetic across their content.
Adobe Express for Professional Edits
When you need quick professional edits on filtered images, Adobe Express delivers powerful features in an accessible package. Adobe Express lets you resize images, remove backgrounds, apply effects, and create graphics without needing advanced design skills. It’s especially useful for creating content that looks polished and professional.
Cropping and Framing
After applying filters and making edits, you might need to adjust the framing of your photos. Learning to crop images for Instagram helps you get the perfect composition for your feed. Different post types work best with different aspect ratios, so understanding how to crop effectively ensures your content looks great in any format.
Using a combination of these apps along with Instagram’s native tools gives you complete control over your final images. You can apply a face filter in Instagram, save the photo, edit it in VSCO for color adjustments, add text in Canva, and then post the finished result.
Using Face Filters in Short-Form Video Content
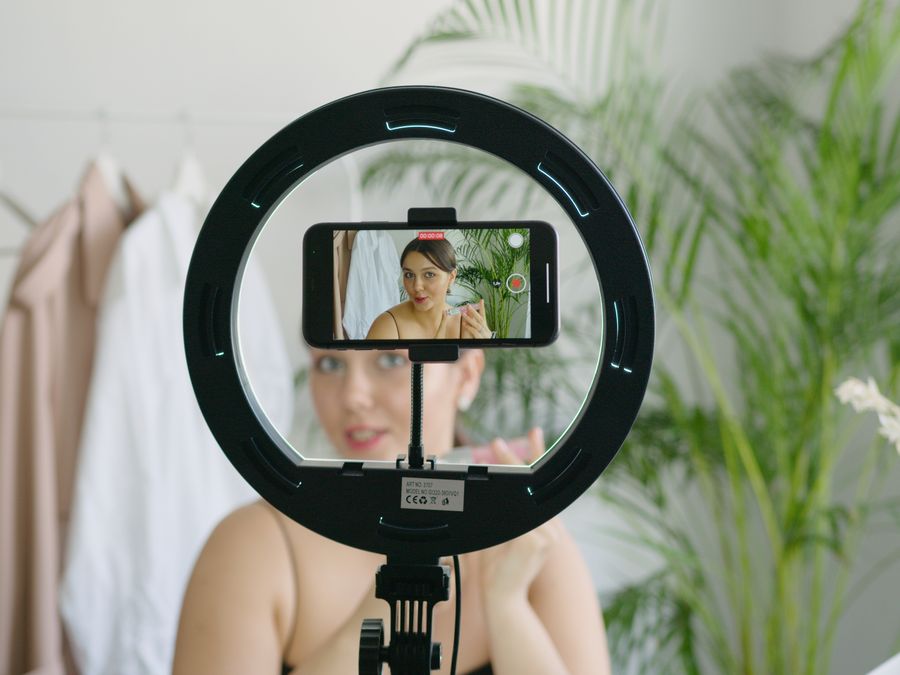
Face filters aren’t just for photos. They can make your videos more engaging and entertaining, especially in short-form formats like Reels and Stories.
Instagram face filters work particularly well in short-form video content because they grab attention quickly. When someone is scrolling through their feed, a video with an interesting filter effect is more likely to make them stop and watch. The visual interest created by filters can be the difference between someone scrolling past and someone engaging with your content.
When creating Reels with face filters, think about how the filter complements your content. A beauty filter might work well for a makeup tutorial or fashion video, while a funny filter could be perfect for comedy sketches or reaction videos. Themed filters can enhance content related to holidays, trends, or specific topics.
You can also combine multiple filters and effects within a single video by recording different clips with different filters and then editing them together. This creates visual variety and keeps viewers interested throughout the video.
Filters can also be applied when creating pre-recorded live videos for a more polished look. If you’re planning content in advance, you can experiment with different filters to find the one that works best before you start recording.
Remember that while filters can enhance your videos, the content itself still matters most. Use filters to support your message or entertainment value, not to replace it. The best videos combine interesting content with appropriate visual effects that enhance rather than distract from what you’re sharing.
How to Save Your Filtered Photos and Videos
After creating content with Instagram face filters, you’ll probably want to save it to your device. This lets you repost content later, share it on other platforms, or simply keep it for your personal collection.
The easiest way to save filtered content is to enable the save option before posting. When you’re in the Story camera, look for the settings icon (usually a gear symbol) and make sure “Save to Camera Roll” or “Save Story to Gallery” is turned on. With this setting enabled, your Stories will automatically save to your phone when you post them.
If you want to save a Story after posting it, go to your Story, tap the three dots menu, and select “Save.” This downloads the photo or video with all filters and effects applied.
For Reels, you can save your video by tapping the three dots on your published Reel and selecting “Save to Camera Roll.” The video will be saved with any filters or effects you applied during creation.
You can also learn how to save Instagram photos with filters applied to your camera roll using Instagram’s built-in features. This is helpful when you want to keep copies of your best content.
If you want to save filtered content from other accounts for inspiration, there are Instagram photo downloader tools that can help. These tools let you download public photos and videos from Instagram. Just remember to respect copyright and always credit original creators if you share their content.
Keeping a library of your filtered content is useful for repurposing across different platforms. A photo you created for Instagram Stories might also work well on other social media channels or in a portfolio showcasing your creative work.
Tips for Getting the Best Results With Face Filters
While Instagram face filters are designed to work in various conditions, a few simple tips can help you get better results every time.
Lighting Matters
Good lighting is essential for face filters to work properly. Natural light from a window or outdoor setting usually produces the best results. Avoid harsh overhead lighting that creates shadows on your face, as this can confuse the face tracking technology. If you’re filming indoors, position yourself facing a light source rather than having it behind you.
Camera Angle and Distance
Hold your phone at eye level or slightly above for the most flattering angle. Keep your face centered in the frame and at a reasonable distance from the camera. If you’re too close, the filter might not detect your full face. If you’re too far away, the effects might not appear correctly.
Stable Positioning
Try to keep your phone steady while using face filters. Shaky footage can cause filters to glitch or lose tracking. If you’re recording video, consider using a tripod or phone stand for smoother results. Even resting your elbows on a table can help stabilize your shot.
Test Before Recording
Always preview a filter before you start recording important content. Some filters look different than expected, and you don’t want to discover issues after you’ve already recorded. Spend a few seconds moving your head around and making different expressions to see how the filter responds.
Match Filters to Content
Choose filters that complement what you’re trying to communicate. A serious message might not pair well with a silly filter, while a fun, casual post could benefit from playful effects. Think about your audience and what kind of content resonates with them.
Don’t Overdo It
While filters are fun, using them in every single post can become repetitive. Mix filtered content with natural photos and videos to keep your feed interesting and authentic. Your followers want to see the real you sometimes, not just filtered versions.
By following these tips, you’ll consistently create better content with Instagram face filters. The technology works best when you give it good conditions to work with, and a little preparation goes a long way toward achieving the results you want.
Instagram face filters offer endless possibilities for creative expression and fun content creation. Whether you’re using them to enhance your appearance, entertain your followers, or build your personal brand, these tools make it easy to add something special to your photos and videos. Start experimenting with different filters today and discover new ways to express yourself on Instagram.
